
This will go over the basic format behind zig's build system and how to get a project started. If you already have an understanding of this, I would recommend going straight to the next chapter Here
Zig has many amazing ergonomic features that allow for getting started fast. The compiler has some amaing features that allow us to get going quick. Let get started by initializing a new project in zig. This can be done from the command line. After we make a new folder that we want to work in. We can then use this command.
mkdir zRogue-game
cd zRogue-game
zig init
With these commands zig with generate a new file. There are several important ones that we will go over. Lets look at each of them

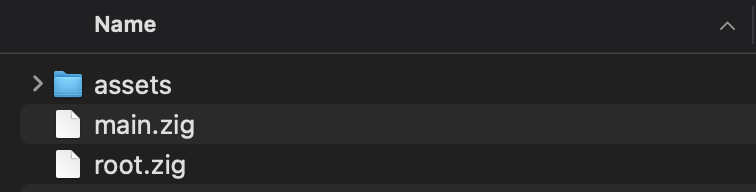
First a source directory is made. There should be two files located in it: main.zig & root.zig. The main file is our primary entry point into the program. The root file is used as an example for building a library which we will see in the build.zig file.
The next item will be the build.zig file. This is a file that allows you to write the build instructions in zig. This is one of zig's super powers in my opinion. It provides powerful ways to instruct how things should be built conditionally. Lets take a look at what comes in this file!
const std = @import("std");

pub fn build(b: *std.Build) void {
    const target = b.standardTargetOptions(.{});

    const optimize = b.standardOptimizeOption(.{});

    const lib = b.addStaticLibrary(.{
        .name = "zRogue-game",
        .root_source_file = b.path("src/root.zig"),
        .target = target,
        .optimize = optimize,
    });

    b.installArtifact(lib);

    const exe = b.addExecutable(.{
        .name = "zRogue-game",
        .root_source_file = b.path("src/main.zig"),
        .target = target,
        .optimize = optimize,
    });

    b.installArtifact(exe);

    const run_cmd = b.addRunArtifact(exe);

    run_cmd.step.dependOn(b.getInstallStep());

    if (b.args) |args| {
        run_cmd.addArgs(args);
    }

    const run_step = b.step("run", "Run the app");
    run_step.dependOn(&run_cmd.step);

    const lib_unit_tests = b.addTest(.{
        .root_source_file = b.path("src/root.zig"),
        .target = target,
        .optimize = optimize,
    });

    const run_lib_unit_tests = b.addRunArtifact(lib_unit_tests);

    const exe_unit_tests = b.addTest(.{
        .root_source_file = b.path("src/main.zig"),
        .target = target,
        .optimize = optimize,
    });

    const run_exe_unit_tests = b.addRunArtifact(exe_unit_tests);

    const test_step = b.step("test", "Run unit tests");
    test_step.dependOn(&run_lib_unit_tests.step);
    test_step.dependOn(&run_exe_unit_tests.step);
}
I've taken out the comments from this, but I would invite you to read through all the comments provided by default to get an understanding of what it each part does. As a high level overview:
const std = @import("std");
First we import the standard library. This is where all of our fun functions that we use to build the program are located.
pub fn build(b: *std.Build) void {
We then define a function that will be called from the cli.
This is how we could build a static library and at it to our builder to then link to our executable.
const lib = b.addStaticLibrary(.{
    .name = "zRogue-game",
    .root_source_file = b.path("src/root.zig"),
    .target = target,
    .optimize = optimize,
});

b.installArtifact(lib);
This is what will become our exe file. It has a name, a path to the main file and our target and optimization level. With this as our entry point, we will need to get and link our library in order to use it.
const exe = b.addExecutable(.{
    .name = "zRogue-game",
    .root_source_file = b.path("src/main.zig"),
    .target = target,
    .optimize = optimize,
});

b.installArtifact(exe);
Lastly we add the capability to use the run command from the CLI.
const run_cmd = b.addRunArtifact(exe);

run_cmd.step.dependOn(b.getInstallStep());

if (b.args) |args| {
    run_cmd.addArgs(args);
}

const run_step = b.step("run", "Run the app");
run_step.dependOn(&run_cmd.step);
The last section of the build.zig file is about adding testing capabilities. We will skip over that for now. We are instead going to focus on getting a window up and running.
Zig provides a way to fetch modules from online repos, that we can then build and link without manually having to go and fetch and add them ourselves. While it is not as pretty as cargo, it is much better than manually downloading repos and statically building and linking the libraries in my opinion. This is what the build.zig.zon file is for. In this file we can add dependencies with a url and a hash, and the build system will fetch the dependencies and we just need to tell it to build and link to our project.
We will start by adding some things to our build.zig.zon file. In our dependencies we need to add a url to the repo. I would go here and copy the url to the most recent release of the library. Then in our build.zig.zon file we need to add the following.
.{
    .name = "chapter-1",

    .version = "0.0.0",
    .dependencies = .{
        .zRogue = .{
            .url = "https://github.com/CorySmith97/zRogue/archive/refs/tags
                /t3.tar.gz",
        },
    },
    .paths = .{
        "build.zig",
        "build.zig.zon",
        "src",
    },
}
After adding this go and run zig build in the command line. You should get an error that looks like this.
Then we simply copy the .hash and add that to our dependency like so.
.{
    .name = "chapter-1",

    .version = "0.0.0",
    .dependencies = .{
        .zRogue = .{
            .url = "https://github.com/CorySmith97/zRogue/archive/refs/tags/
                t3.tar.gz",
            .hash = "1220ecb41379f34e01a3a1c0e8f6dc56a693f1b38419e2ab1db13045
                1aa17af728eb",
        },
    },
    .paths = .{
        "build.zig",
        "build.zig.zon",
        "src",
    },
}
When we build we should get no errors anymore. Now we need to add zRogue as a module that our build system can link to our executable.In the build.zig file we need to first clean some stuff up so it looks like this.
const std = @import("std");

pub fn build(b: *std.Build) void {
    const target = b.standardTargetOptions(.{});

    const optimize = b.standardOptimizeOption(.{});

    const exe = b.addExecutable(.{
        .name = "zRogue-game",
        .root_source_file = b.path("src/main.zig"),
        .target = target,
        .optimize = optimize,
    });

    b.installArtifact(exe);

    const run_cmd = b.addRunArtifact(exe);

    run_cmd.step.dependOn(b.getInstallStep());

    if (b.args) |args| {
        run_cmd.addArgs(args);
    }

    const run_step = b.step("run", "Run the app");
    run_step.dependOn(&run_cmd.step);
}
We then need to include our module. This is done by doing the following.
  const zRogue_dep = b.dependency("zRogue", .{
      .target = target,
      .optimize = optimize,
  });

  exe.root_module.addImport("zRogue", zRogue_dep.module("zRogue"));
Now if you try to build you should get a few more errors saying that we are missing some files. zRogue has some extra dependencies that we will manually need to add to our file. Those can be found here. You will need to unzip and and this file to our src folder like so.
Everything now should be good to go! We are now free to include zRogue and use it for ourselves!
After running the code above we should have a window open with the title that we gave it. How exciting! Step one is all done. The next thing we need to do is to get something rendering on that screen. Thankfully zRogue does much of the heavy lifting for us.
zRogue has some simple interfaces that we will communicate with. The main app itself uses 3 functions that we will define in order to interact with us. These are init, tick and events. Now that we have a general idea of the library interface, lets jump to our main file real quick. We will first import zRogue.
const app = @import("zRogue");

pub fn main() !void {

}
In order to get a window to open all we need to do it add the follow to our main file.
const app = @import("zRogue");
pub fn main() !void {
try app.run(.{
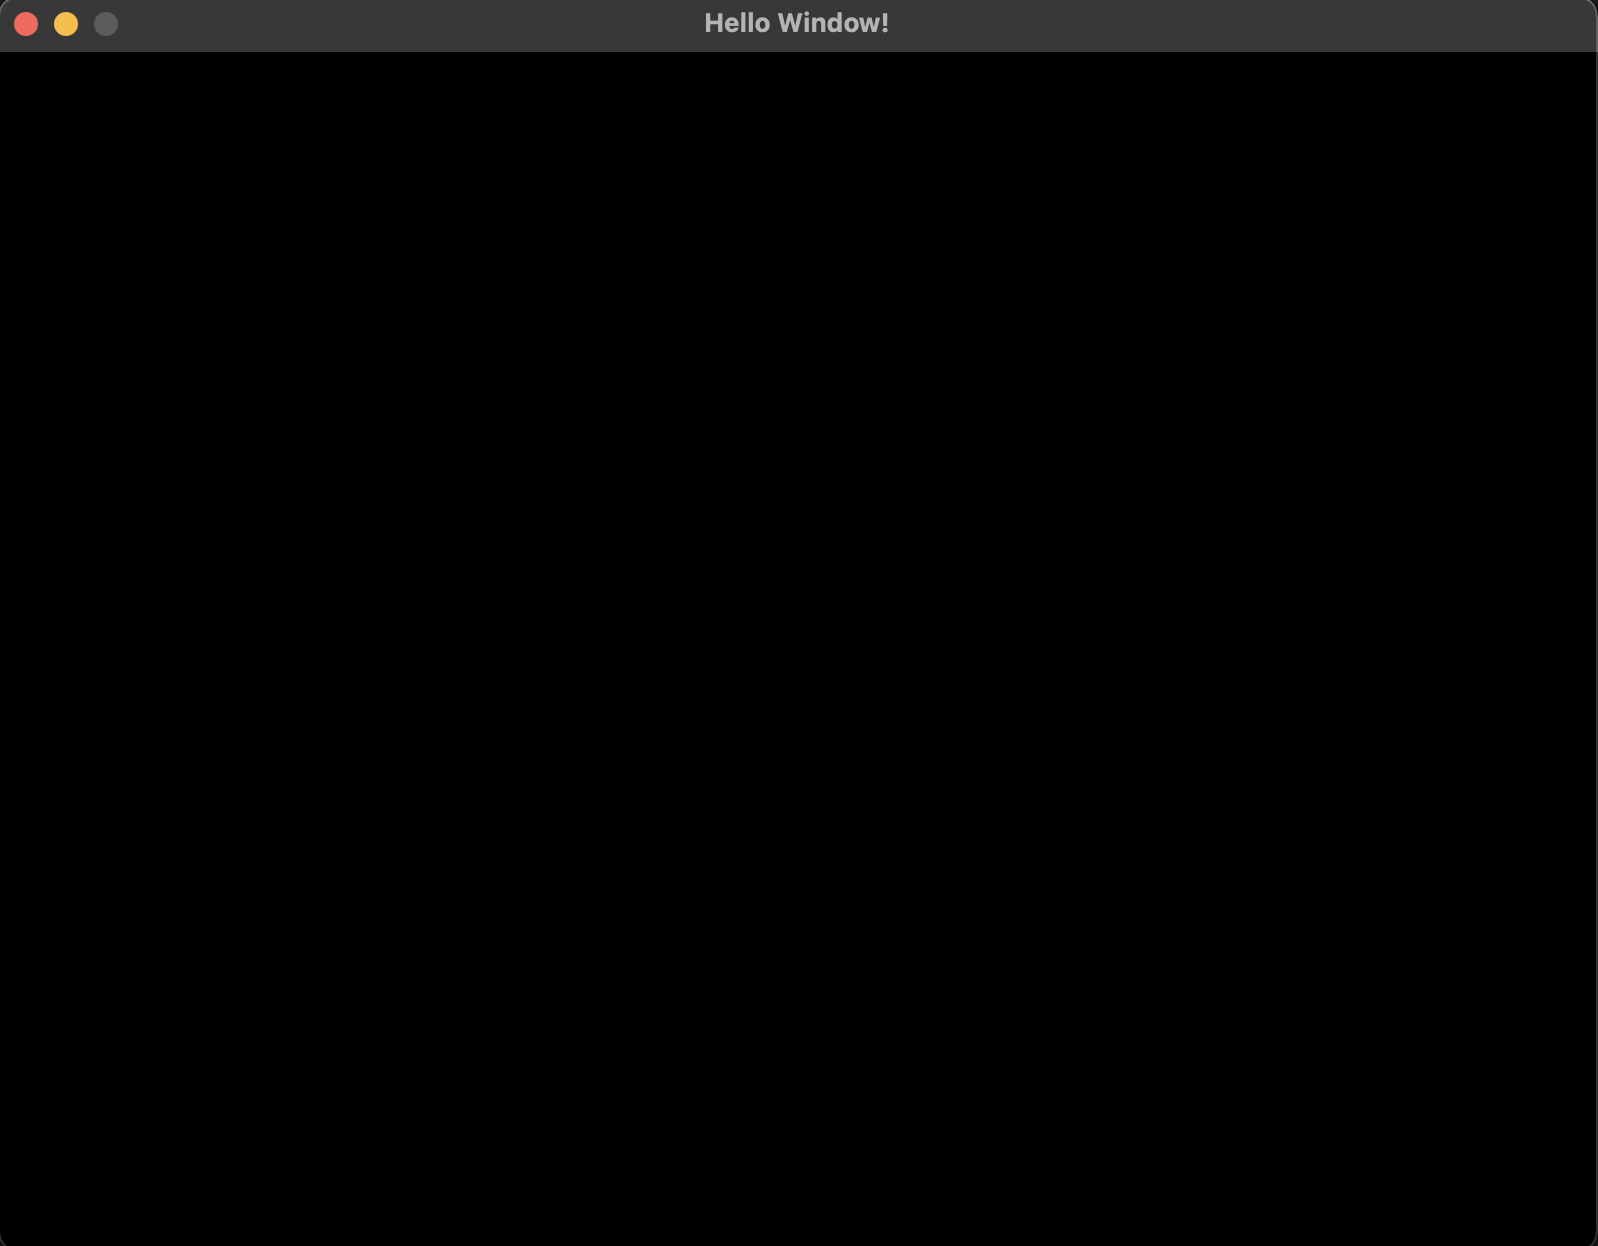
.title = "Hello Window!"
});
}
To briefly explain, our main run function that we get from zRogue can fail. Because it can fail we have to add try to the function. We then have parameters that we have to pass to the run function. We use struct initialization to do this. In zig if we pass a struct as a parameter to a function, we can often use the syntax .{} to initial a new struct of the given type. There is only one non-optional parameter for the app that we have to pass and that is the name of our window. After naming the window and running zig build run in the command line you should see the following
With that we will conclude chapter 1. If you need any help check out this repo with the code for the end of each chapter.
Code for Chapter